Keeping track of hobbies
A couple months ago, in an effort to learn more about Kubernetes, I decided to tear down my old-school, Nginx-powered website and replace it with the exact same thing, but hosted in Kubernetes. This would make my life a little easier, as I no longer have to manage a VPS to have a web presence, and it would allow me to run more complex applications directly from my own domain, instead of relying on dynamic DNS and long-polling. For example, my Telegram bot, Rolly McDicerton, is now running as a Kubernetes deployment instead of running on the hypervisor in my house. I plan on getting my other bot, sErIoUs BlAcK spun up on there “eventually”.
That, I think, clearly demonstrates the power of kubernetes. You need only dockerize your application and, assuming you have a kubernetes environment, you can simply deploy your app in a fault-tolerant and load-balanced way.
The process of spinning up the environment was actually fairly easy, but the process of learning, trying, failing, and succeeding was not. Maybe one day I’ll condense the whole process into a blog post, but that day is not today!
So what is this post about?
This post is going to be about the process I’m going through to create a sort of “mini-blog” about my hobbies. As I recently said in a Mastodon post:
And so, I’m going to do this!
Am I going to use a nice document generator, like Jekyll (hey, I know something about that!)?
Nope. It’s going to be static HTML and CSS.
Why?
Because, er, I still have no idea what I’m doing. Also, it’s a fairly static site with very few changes, and as such simple source control for static web files is exactly what I need.
Am I going to need to know a lot about web development to follow along?
Probably not. I’m not targeting a specific audience with this post, but the only “complicated” bit is actually deploying the website to Kubernetes.
So, the first couple parts of the post are probably going to be halfway-decent primers on building static websites, including the process of planning out your site’s layout (like, the actual “directory” structure of your site) like we did in the olden days and actually writing out HTML and CSS (spoilers, there won’t be any fancy CSS tricks; it’ll likely be a simple CSS grid). There won’t be any fancy frameworks, no libraries, no nothing. If you don’t know anything about web development, you can pick up a few very beginner-friendly tips here!
Seriously, if you’re already even a junior web developer, the first half of this post is going to be really, really dull.
Let’s get started:
Getting Started: Requirements Gathering
I have a lot of hobbies. Let’s limit the scope to the few that I am the most active in:
- Woodworking
- Ham Radio
- Knitting
With those three hobbies in mind, and the notion that we could, one day, add to the site, we can start laying out what the static site looks like. First and foremost, let’s settle ona domain name. hobbies.chrispilcher.me sounds as good as any! Man, this whole requirements gathering thing is easy.
The next step is to consider how you want to actually structure the site. Since the site’s whole purpose is to give people a rough overview of my hobbies, we can keep things very simple:
- The index of the site (which you’ll be able to access at https://hobbies.chrispilcher.me/) will be a literal index into the rest of the directories. If you’ve seen old, “web 1.0” home pages before, you’ll be familiar with the concept.
- Each hobby will have its own directory. So, our structure will look roughly like this:
hobbies.chrispilcher.me
├── hamradio
│   └── index.html
├── woodworking
|   └── index.html
├── knitting
│   └── index.html
└── index.html
We’ll put the specifics of each of the hobbies in their respective HTML files. We can have links to other pages about, say, specific ham radios I own in their respective hobby directories, and we’ll do a little bit of Nginx wizardy to eliminate the .html extensions in our URLs:
location / {
    root   /usr/share/nginx/html;
    index  index.html index.htm;
    try_files $uri $uri.html $uri/ $uri/index.html =404;
}
All that means is that, when presented with a URI like https://hobbies.chrispilcher.me/hamradio/yaesu-ft70dr, it will check for, in order:
- A file named
hamradio/yaesu-ft70dr - A file named
hamradio/yaesu-ft70dr.html - A directory named
hamradio/yaesu-ft70dr(which will trigger the next lookup) - A file called
index.htmlin the directoryhamradio/yaesu-ft70dr
This is a pretty common little hack. This allows us to make our links eschew the .html extension, so that our address bar doesn’t have that ugly, vile thing in it, while still having our files named so-and-so.html.
Okay, now it’s time to generate some content for those hobbies!
Writing some content
I’m going to start by filling out the index page, to act as a sort of “proof of concept”. Once we have some content on the index, we can start packaging things up and deploying them.
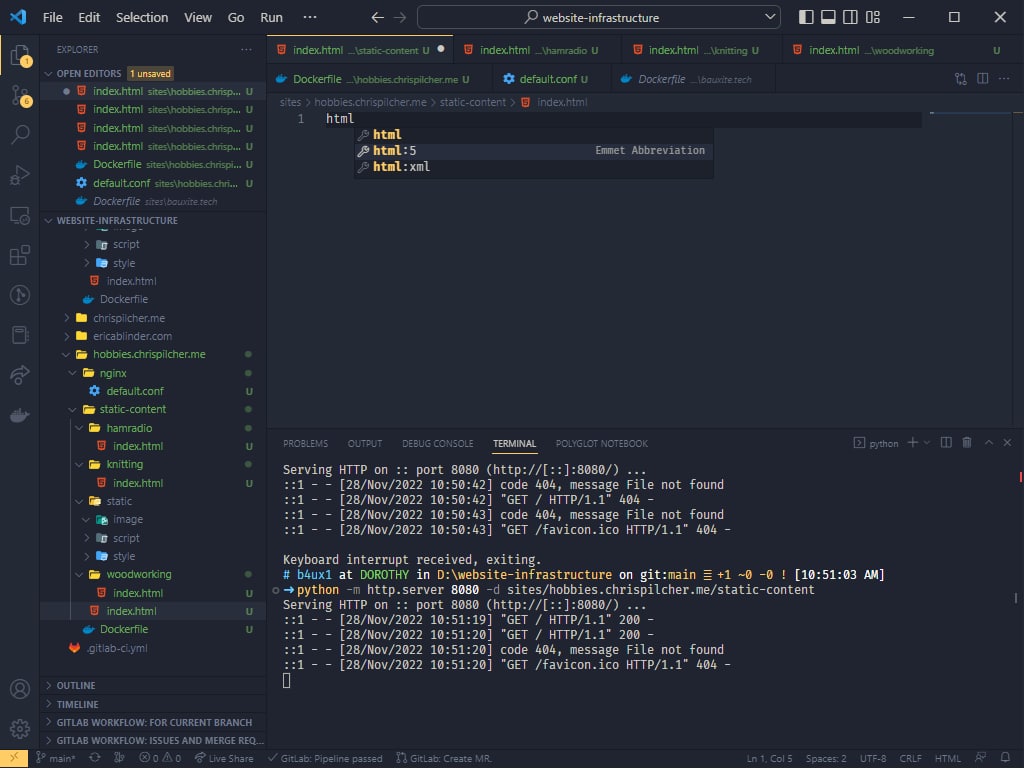
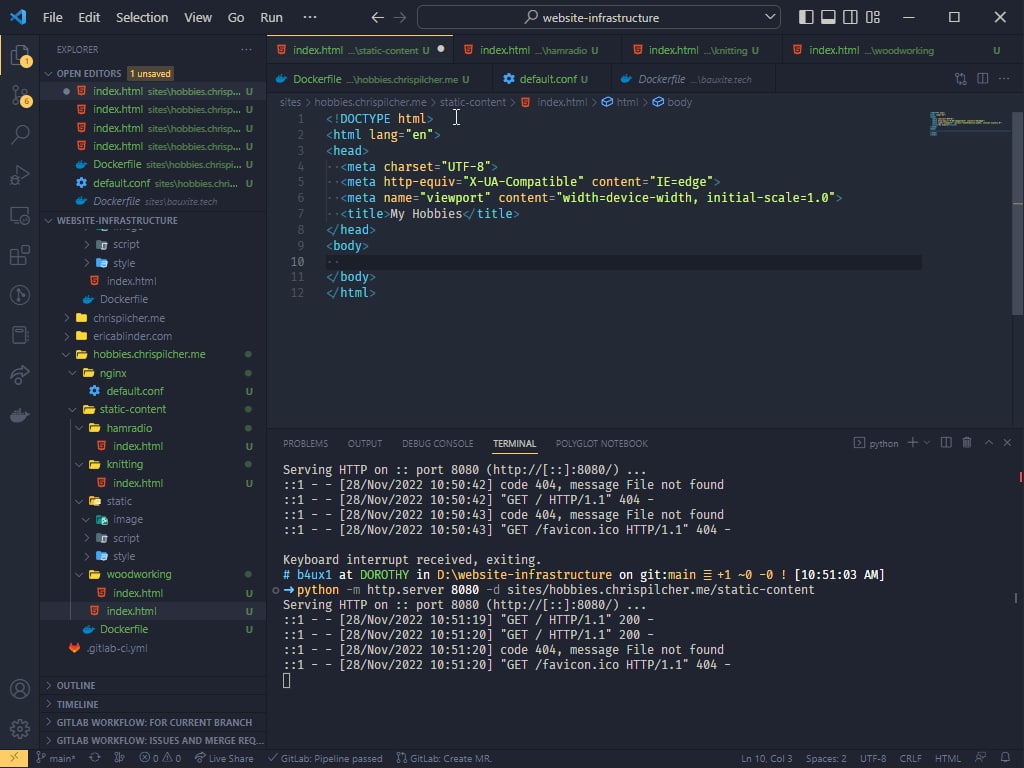
So, using Visual Studio Code’s wonderful Emmet abbreviation support, I simply type html into a my index.html, and select their html:5 option. Et voila!
I like to use a font called Fira Sans from Mozilla on most of my sites. I just like the look of it. So, I’ll click on one of the families and then copy the links that Google gives me. Nothing wrong with blindly pasting in HTML from a faceless megacorporation, right?
. . .Right?
Anyway, let’s make all our text have that font. I’ll create a style.css file in my static/style directory, and link that in the HTML’s header. In it, we’ll just give a basic font-family definition for now.
Our CSS:
* {
  font-family: 'Fira Sans', 'Lucida Sans', 'Lucida Sans Regular', 'Lucida Grande', 'Lucida Sans Unicode', Geneva, Verdana, sans-serif;
}
In our HTML’s <head> element:
<link rel="preconnect" href="https://fonts.googleapis.com">
<link rel="preconnect" href="https://fonts.gstatic.com" crossorigin>
<link href="https://fonts.googleapis.com/css2?family=Fira+Sans&display=swap" rel="stylesheet">
<link rel="stylesheet" href="static/style/style.css">index.html files. For the new devs reading this, you’re starting to see why people are willing to put in the effort to use static site generators instead of just doing everything by hand, aren’t you? 😉I’m not going to go into detail about how to fill out the HTML file. Suffice it to say that you can learn all about that on many, many other sites. I recommend FreeCodeCamp! (Not sponsored, they’re just great.)
Once you have some content, we can move on to packaging and deploying our site.
Wait, what?
Just kidding. I do not have the time or energy to make a website, from scratch, that I have to manually edit whenever I want to update the style, or add new pages, or whatever. Remember that note from above? Yeah, we’re going to use a static site generator for this.
| I use Jekyll for my blog. I have a love-hate relationship with Jekyll. It’s a great tool for authoring Git[Hub | Lab] Pages-based sites, but it’s nightmarish to work with for anything that isn’t a simple blog. Getting it converted from a GitLab-hosted blog to a “I host it myself” blog was more work than I want to go through for this cute little side project. |
We use a tool called MkDocs at work for managing our user-facing documentation. MkDocs has a lot going for it: It’s free, it’s open-source, and it’s dead simple. Write some stuff in markdown files, run a command, BAM, you have a static site.
I’ll let you check out their excellent getting started guide to learn how to use it. I’m going to fill in my stuff and get this thing pushed up to the Internet!
Conclusion
In this first part of this two part series, I went over how I went from zero to hero in Kubernetes. I talked about how I initially wanted to lay things out with a simple, plain HTML/CSS website, and then slowly (er, not so slowly) decided to just use MkDocs instead.
In part two, I’ll go into how I set up my MkDocs instance and how I handle “containerization” of static sites (spoilers: nginx).
Finally, in part three, I’ll go over my whole kubernetes setup, what I’v learned about Kubernetes as a whole, and some specific gotchas I stumbled across.
PS
Oh, yeah, the site is live already! You can check it out over at https://hobbies.chrispilcher.me!